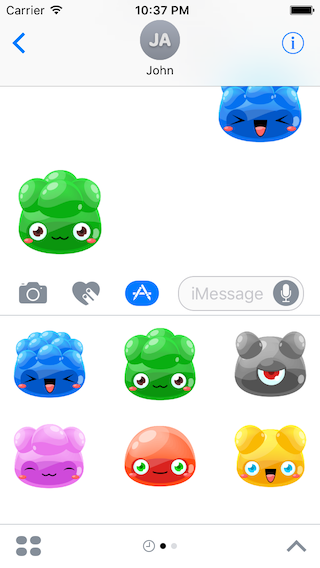
iMessage Sticker Pack Tutorial
A Sticker Pack app is a great first project for any developer/artist to get started with iOS. It’s simple way to get some experience with Xcode and see what it takes to get an app ready for the App Store. Here’s how to make your own Sticker Pack for iOS 10, just like Pocket Ninja.

Requirements
- Xcode 8
- Artwork
- Apple Developer Account - if you want to upload to the App Store
Prepare Your Stickers
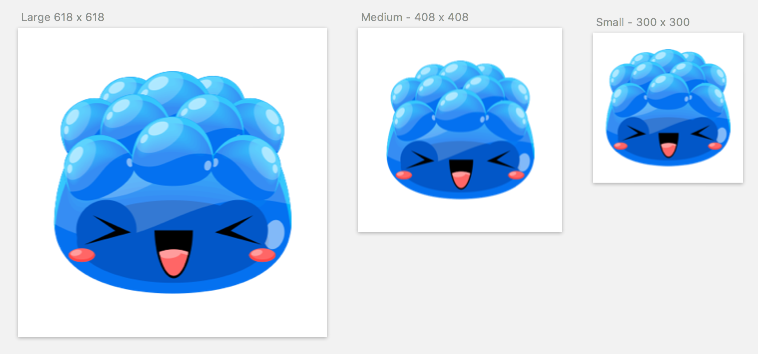
Stickers come in 3 sizes small, medium, and large. Currently, I was unable to mix the sizes within a single app, so you’ll have to stick with one size for each project. Here’s what Apple recommends in their documentation.
Valid image files must meet the following specifications:
- The image must be a PNG, APNG, GIF or JPEG file.
- The file must be less than 500KB.
- The image cannot be smaller than 100 x 100 points, and can not be larger than 206 x 206 points.
To best match the browser, use sticker images of the specified size.
- Small. 100 x 100 points.
- Medium. 136 x 136 points.
- Large. 206 x 206 points.
Keep in mind you’ll need to provide Xcode with @3x images, so you’ll be creating your stickers at 300 x 300 px (small), 408 x 408 px (medium), 618 x 618 px (large)

Prepare Your Icon
For me, prepping my icons required more work than the actual stickers, the sizes are different than I’m used to. A few are very small, so consider how your icon will look at a tiny size. I made a Sketch template that you can download - iMessage Sticker Icon Template. Just change the icon image and background color then export to your folder.
Simple App
Now the easy part! Creating our Sticker Pack Application.
- Open Xcode and choose Create a new Xcode project.
- In iOS > Application choose Sticker Pack Application.
- Name your application and hit the Create button.
- Click on the Stickers.xcstickers workspace & open the Sticker Pack Folder.
- Drag in the stickers you created and set the sticker size in the Attributes Inspector.
- Open the iMessage App Icon.
- Drag in the icons you created, be sure to add any that don’t autofill.
- Build and Run!
Read more: